
Entering Data: Enter Data As
Enter Data As is one of the most import and most overlooked components of HMIS data entry. When inputting data into HMIS, you must remember to always set the Enter Data As to a specific provider/project.
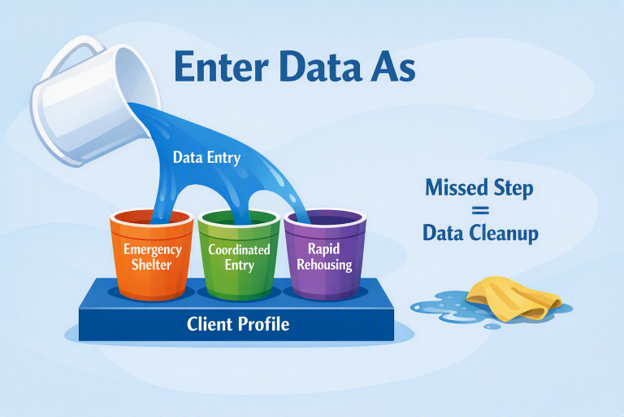
Think about your client profile as a table. This is the base on which you will build the record of the work you do with each client. Now, imagine that every project you have is a cup. You may have a cup for Emergency Shelter, and additional cups for Coordinated Entry, Rapid Rehousing etc. All of your data needs to be poured into the right cup. Setting your Enter Data As tells the system which cup to pour the data into. If you miss this important step, your data will just spill all over the table. When it is time to pull a report, the cup will be empty, and the report will not be an accurate reflection of your work. By skipping this important step, you will have incomplete project reports, and you will need to do data clean up.
Setting Enter Data As
Once you log into HMIS, look to the top right corner of your screen. This section is just under your name.
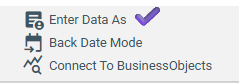
Click on Enter Data As, and a pop-up menu will appear.
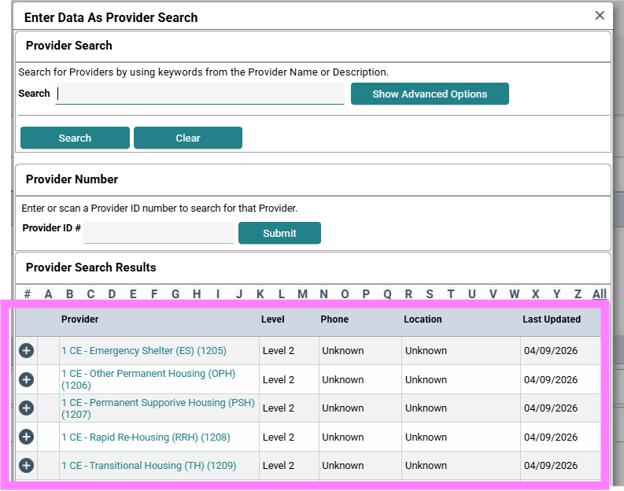
Select the circle plus icon on the left side that matches the project your data needs to be entered under. You may have only one choice or several options depending on the number of projects your agency has. Even if there is only one, you must still select that project. After you have set the Enter Data As, the pop-up window will close.
Make sure you also set the Back Date to whatever day the data was collected.
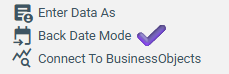
Once you have set your Enter Data As, and Back Date you are ready to go. Remember you will repeat this step every time you start with a different project or different client. All good data starts with Enter Data As.
If you have questions or would like additional training, please contact the Wyoming Helpdesk at wyhmis@icalliances.org.